The Reality of Stainless Steel
Over the past few weeks I've been buried in the gap between "Theory" and "Reality." In CAD, everything fits. In the CAM simulations, every cut is cool and clean. But physics has a way of humbling you the moment you press the big green button.
The Smoke Test
If you've been following the build, you know I've been validating everything in aluminum. Last week, I finally loaded the first block of 316L Stainless Steel.
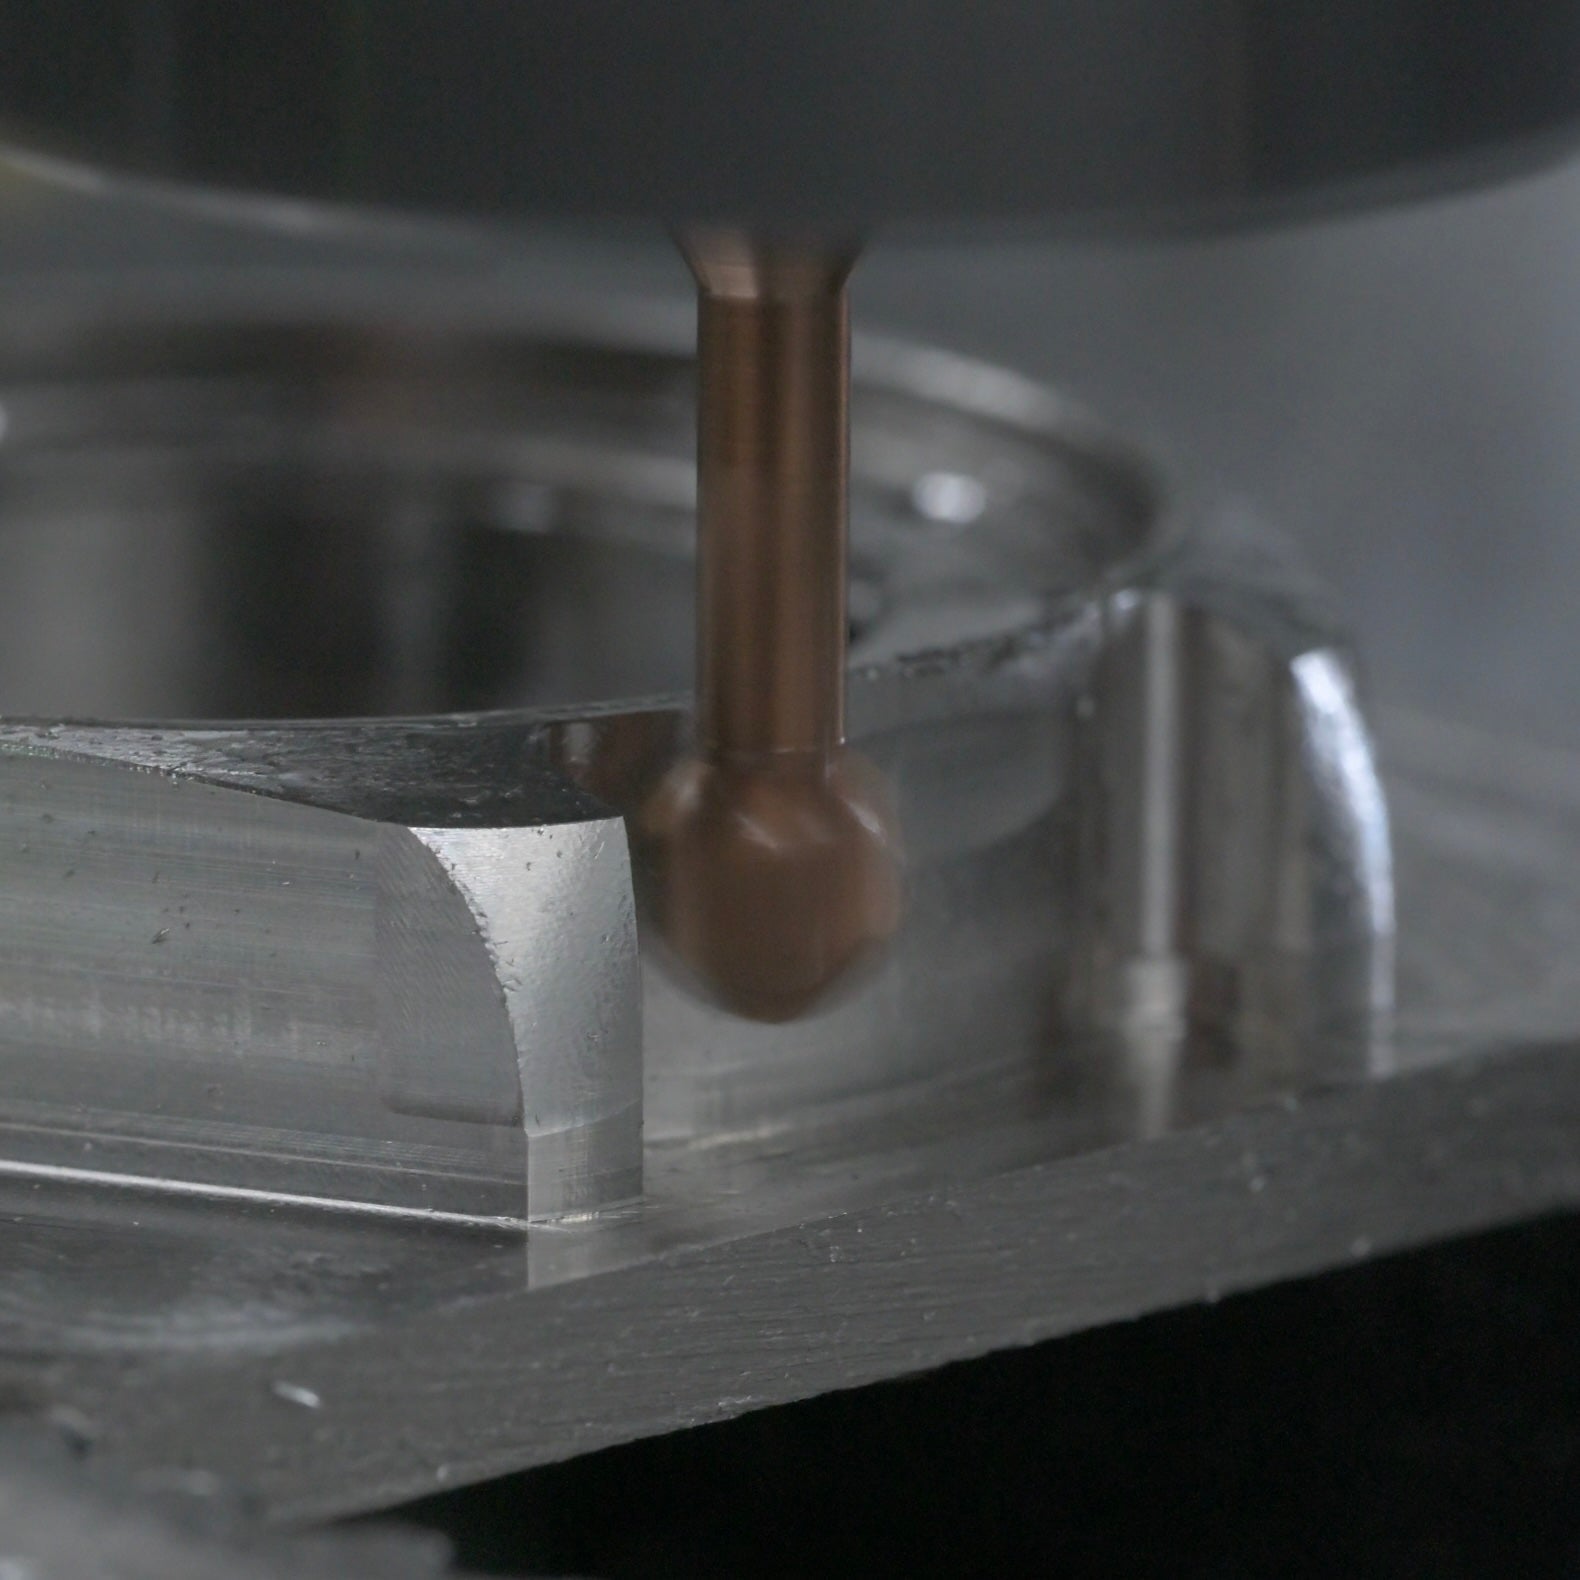
The first attempt was... humbling. I used traditional milling strategies, the kind that worked fine on softer metals that are a bit more forgiving. Within minutes, the shop was filled with smoke. I hit the thermal limits of my equipment long before I hit the rigidity limits. My coolant system just couldn't keep up with the heat generation of traditional "plowing" cuts.

The Pivot: HSM (High Speed Machining)
I scrapped the program and recreated it using High Speed Machining strategies.
- The Logic: Instead of taking heavy, slow cuts that soak heat into the part, HSM takes light, incredibly fast cuts. The heat is ejected with the metal as it flies away from the cut, leaving the part significantly cooler.
- The Result: I didn't just stop the smoke. I dropped the run time for OP1 from 3+ hours to under 45 minutes.
So, Why should you care?
Well, if every watch case takes 10+ hours to machine when all cycles are taken into account, by the time I finish a production run, you won't receive your watch until January... 2027. I want to ensure every piece is made to the highest standards, but also efficiently. My goal is for you to enjoy your watch, not just the thought of it.
Capillary Action (Lume & DFM)
While the mill was cooling down, I switched to practicing lume application on some scrap parts. This revealed a flaw I never saw in the 3D model.

The Flaw:
The indices were designed like tiny cups to be filled from the front. But lume is applied as a fluid. Surface tension and capillary action caused the liquid to wick up the walls of the "cup," creating a concave, uneven surface. To get it perfect required a level of luck I cannot rely on for a production run of watches.
The Fix:
I looked at the skeleton hands. They have a channel cut all the way through and are filled from the rear. The result is always clean, flat, and uniform from the front. So, I went back to the drawing board. I deleted the "Cup style Indices" and redesigned the entire dial ring to accept rear-filled lume application.
Assembly Improvements
While I was updating the indices, I fixed a nagging issue with the case assembly. Originally, the bezel had alignment pins that mated blindly with the case. It was a risk every time; if you missed the alignment, you risked bending a pin or scratching the case.
I realized the bezel was doing too much work. It was trying to seal the case and align the dial. So, I erased the alignment pins from the bezel entirely. I moved that responsibility to the indices ring itself. Now, the indices lock the orientation, and the bezel simply slides into place to seal the assembly. It separates "Alignment" from "Assembly," making both easier to manufacture and safer to service for watchmakers down the line.
The Takeaway
This is the advantage of being a "One-Man Shop." If I had sent these files to a factory, they would have manufactured 500 dials with the indices "Cup" flaw, and I would have been stuck with them. Because I am the one mixing the lume and programming the code, I get to catch these issues now, while they are easy to fix.
Production is getting closer. "Origin" prototype is evolving.
Back to the mill.
Mike Armstrong
Founder, AW Labs